ECU Setup
Flex fuel setup
Configure the flex-fuel sensor input first, then calibrate the fuel correction and ignition correction.
1. Input Setup
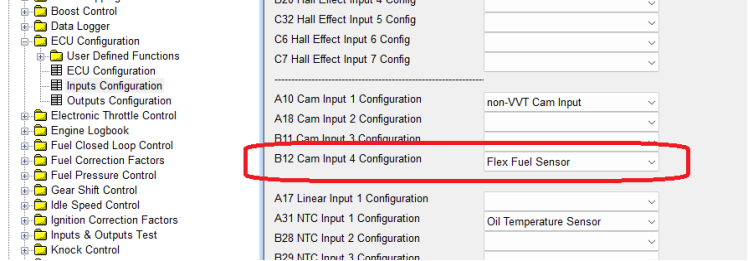
Assign the flex-fuel sensor to the appropriate ECU frequency input in ECU Configuration → Inputs Configuration. Confirm that the ECU is receiving the flex-fuel sensor signal before applying fuel or ignition corrections.
2. Fuel Correction
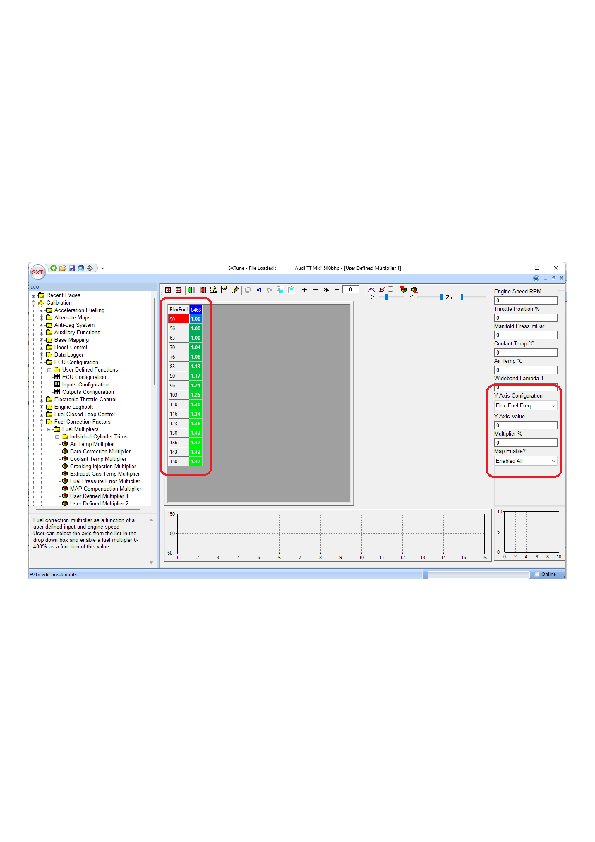
Open the fuel-correction map used for flex-fuel compensation and calibrate the fuel multiplier against the flex-fuel value. The complete supplied calibration screen is shown below so that the map, breakpoints, live values and relevant SXTune page location are retained with the guide.
3. Ignition Correction
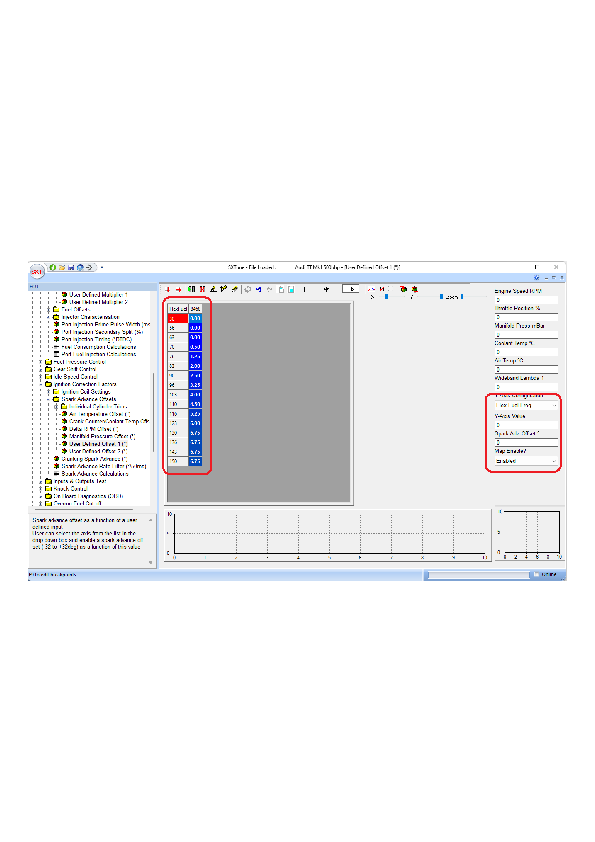
Open the flex-fuel ignition-correction map and calibrate the spark-advance offset against flex-fuel content. Keep the correction consistent with the validated base ignition calibration for the fuels and alcohol-content range being used.