
Getting Started
Programming firmware & calibration files
The established SXTune procedure for programming ECU firmware or calibration files, including CAN-interface recovery and the alternative PDM workflow.
Before you start
- Ensure the ECU is powered with its normal 12 V supply, ground and switched ignition.
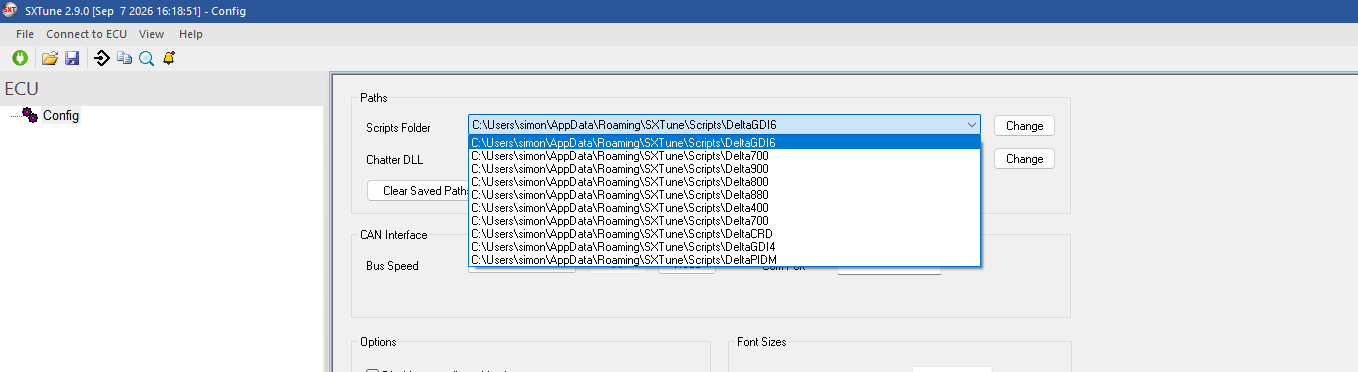
- Use the latest version of SXTune and make sure the correct ECU type / script folder is selected.
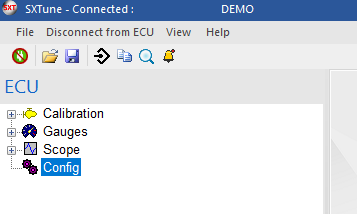
- Where possible, connect to the ECU first. A successful connection proves that the PC, CAN interface and ECU are communicating before programming begins.
Programming ECU firmware
- With the ECU powered and preferably connected, click Program ECU from file on the main toolbar.
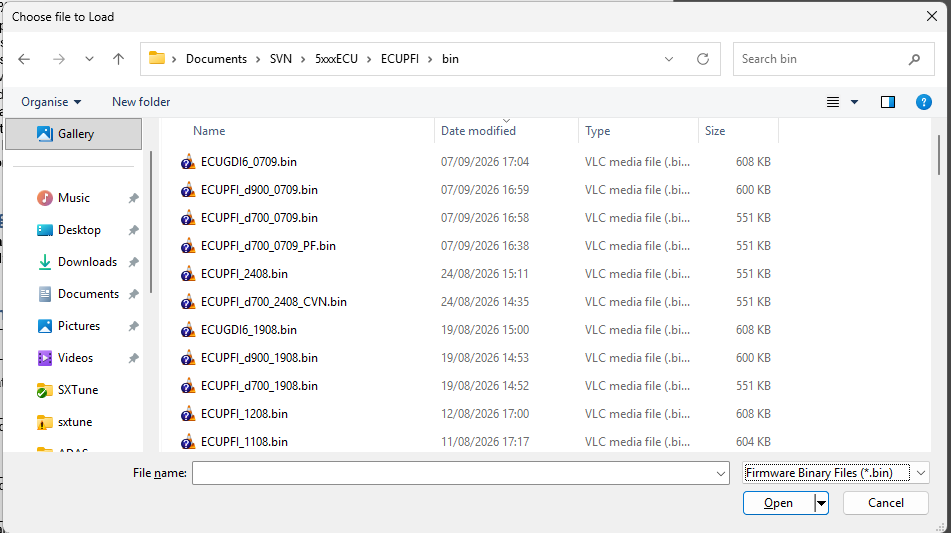
- In the file chooser select Firmware Binary Files (*.bin), choose the firmware file supplied for the ECU and click Open.
- When SXTune instructs you to turn the switched 12 V ignition off, turn it off and then click OK.
- Turn the switched ignition back on when SXTune instructs you to do so.
- The firmware binary is then loaded into the ECU. Do not disturb ECU power, the USB lead or the CAN wiring during this stage.
- Wait for the programming-complete message. SXTune then restarts and reconnects to the ECU automatically.

Programming a calibration file into the ECU
The programming sequence is the same as for firmware, except that a calibration file is selected rather than a firmware binary.
- Power the ECU, confirm the correct ECU / scripts and preferably connect to the ECU.
- Click Program ECU from file.
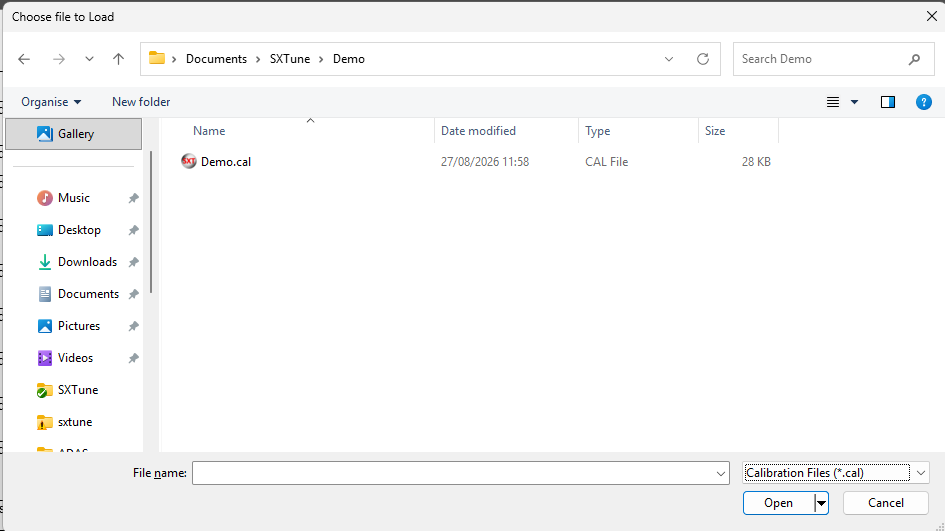
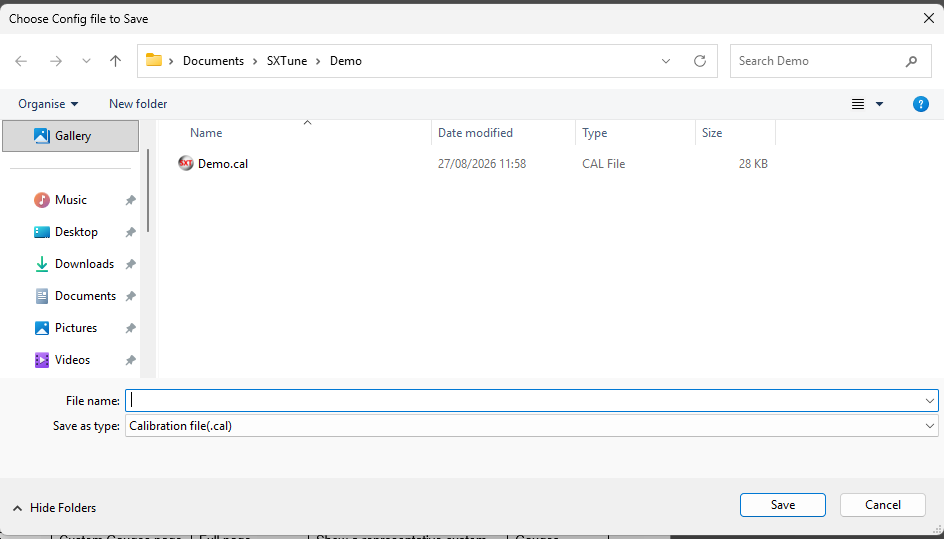
- Select Calibration Files in the file-type selector, choose the required calibration file and click Open.
- Turn switched ignition off when instructed, then acknowledge the dialog.
- Turn switched ignition back on when instructed.
- Wait for programming to complete. SXTune then restarts and reconnects automatically.
If programming fails
If a problem occurs while programming, repeat the procedure only after resetting the CAN interface. Disconnect the interface from both the PC USB connection and the D-SUB 9 / OBD connection so it fully powers down. Reconnect it and confirm that the ECU still has a reliable 12 V supply and switched ignition before trying again.
Recovering communication with the CAN interface
On rare occasions SXTune and the CAN interface can lose synchronisation because the interface is set to a bus speed that does not match the ECU, or the existing ECU firmware has been corrupted during an interrupted programming attempt. Use the following recovery procedure:
- Close SXTune. If it is unresponsive, close it using the Windows close-program dialog or Task Manager.
- Disconnect both the D-SUB 9 / OBD cable and the USB cable from the CAN interface.
- Wait at least two seconds, then reconnect only the USB cable. Leave the ECU-side cable disconnected.
- Start SXTune, but do not try to connect to the ECU.
- Open Config. In the CAN Interface section choose 1 Mbit/s and press Set.
- Reconnect the D-SUB 9 / OBD cable.
- Do not use the green Connect button. Click Program ECU from file and perform the normal programming procedure, including the requested ignition off/on cycle.
- If programming still cannot establish communication, repeat the procedure using 500 kbit/s and then 250 kbit/s.
PDM installations: alternative calibration loading
Some power distribution modules can make the normal switched-ignition sequence difficult when loading calibration files. Use this alternative procedure:
- Connect to the ECU normally.
- Open ECU Configuration → ECU Configuration.
- Click Load Cal → RAM and select the calibration file to load.
- At the end of loading, a Windows-level programming failed SB message may appear with this method. This temporary message can be ignored.
- Click Save at the bottom of SXTune. This copies the calibration held in SXTune / ECU RAM into the ECU.
- Disconnect and reconnect to the ECU. SXTune reloads the calibration from the ECU; verify that the expected changes are present.