
THE OWNER’S GUIDE
DeltaLog Dash
Instruction manual
Practical instructions for your dashboard, data logger and GPS lap timer.
Start with a task below, or search for a control, status message or problem.
01Record a sessionConfigure, start and stop a log →02Get my recordingsWi-Fi, USB or SD card →03Set up the displayChoose six channels and colours →04Use the lap timerGPS fix, circuit layout and prediction →
First-use checklist
- With the Dash powered off, insert a compatible FAT32 microSD card and connect the supplied vehicle CAN harness. Follow the wiring documentation for your unit.
- For GPS, connect the supported USB receiver before power-up in Automatic mode, or select GPS mode and restart. See USB connections.
- Open SYSTEM. Check CAN ACTIVE, SD READY and the date/time. If GPS is fitted, wait for a fix.
- For a new installation, connect SXTune over USB in PC mode and send a logger configuration. Check that the channel count appears on SYSTEM.
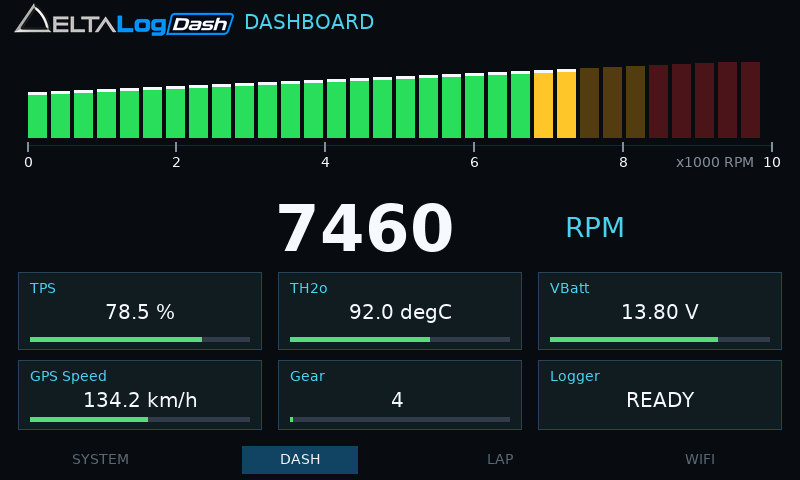
- Open DASH and confirm sensible live readings. On LAP, confirm the circuit layout and timing line while stationary.
- Make a short test recording. Confirm LOGGING and rising logged time, stop it, then download and open it in DeltaLog.
Which software does what?
| Tool | Use |
|---|---|
| DeltaLog Dash touchscreen | View live data, change display settings, manually start/stop recording, choose a circuit layout and set up Wi-Fi. |
| SXTune on the PC | Configure the Dash logger channels, sampling rates, session details and clock over USB. |
| DeltaLog on the PC | Download and analyse recordings. Keep each recording’s .DTT and .DTD files together. |